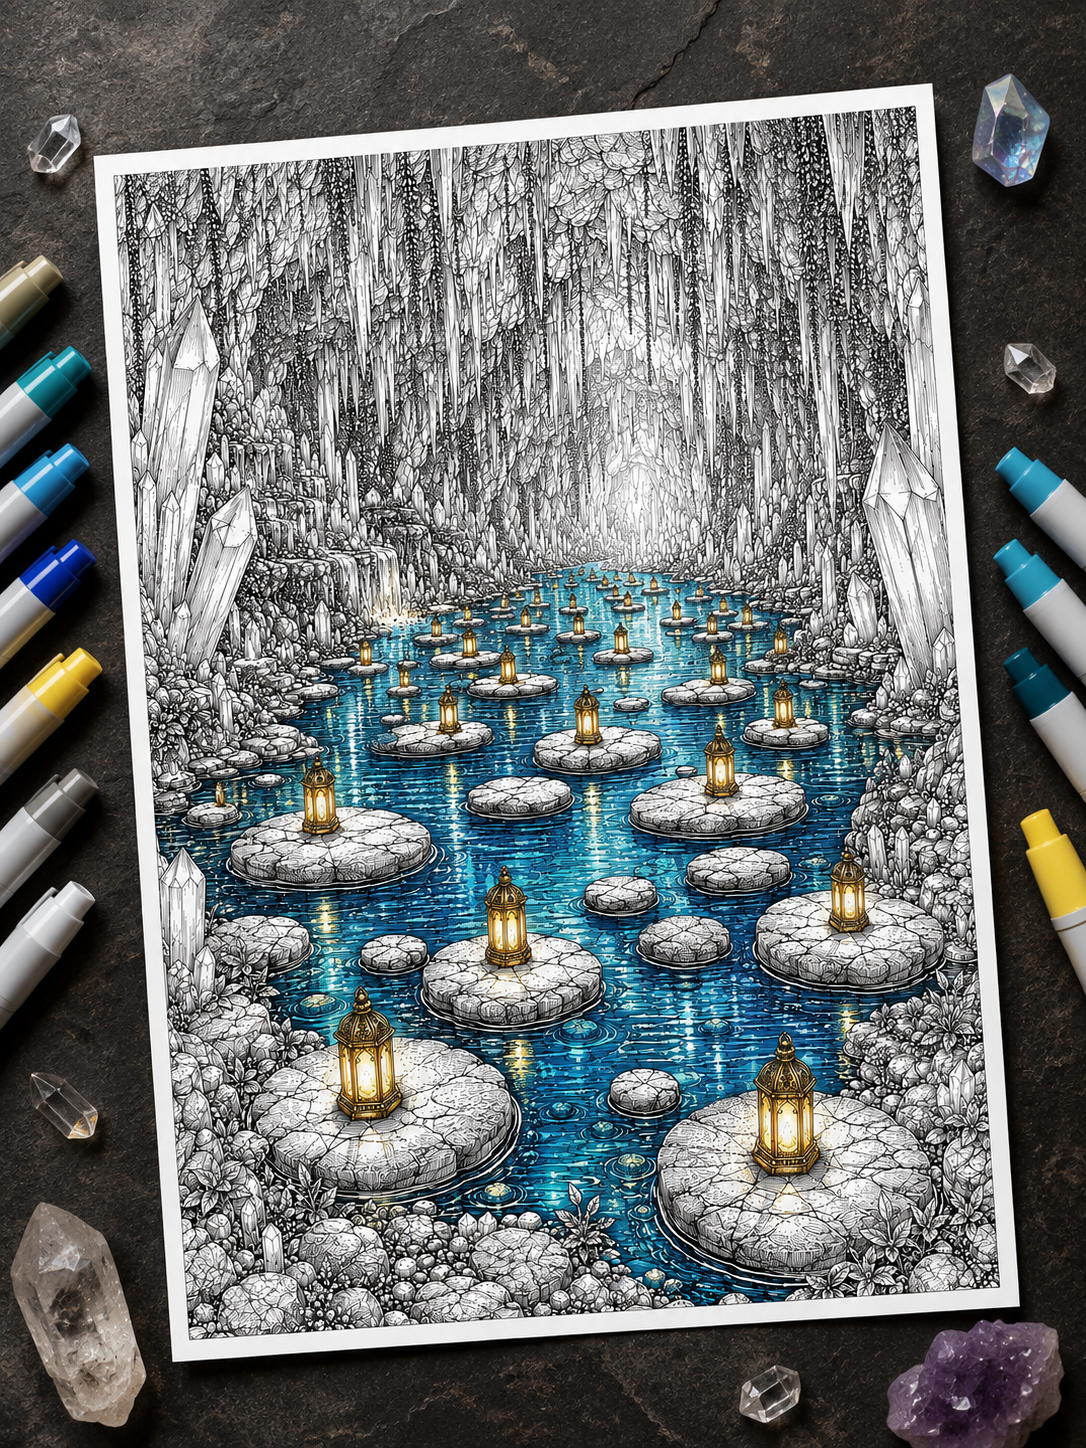
Have you ever spent hours perfecting a gorgeous landscape or an adorable fantasy scene, only to freeze when you reach the water? If you’re wondering how to color water in coloring pages without making it look flat or overly blue, the secret is surprisingly simple: water reflects light, depth, and the colors around it.
We’ve all been there! Water is one of those mysterious elements that feels tricky to capture. Is it blue? Is it turquoise? How on earth do you draw “transparent” liquid using solid colored pencils or markers?
Here’s the secret: water doesn’t really have a single color of its own—it reflects the world around it! Once you unlock a few simple blending water coloring techniques and color combinations, coloring water transforms from intimidating to relaxing and fun.
In this ultimate guide, we’re breaking down everything you need to know to bring oceans, rivers, quiet ponds, and cozy raindrops to life on paper. Grab your favorite coloring supplies, put on some relaxing rain sounds, and let’s dive right in! 🎨💦
1. Understanding Water: The 3 golden rules 💡
Before picking up your pencils, keep these three golden rules in mind:
- Light Creates Depth: Deep water is darker, while shallow or sunlit water is lighter.
- Highlights Are Everything: Leave plenty of white space or light pastel patches! The contrast between dark shadows and crisp white highlights is what creates that wet, sparkling effect.
- Flow Follows Form: Use curved, horizontal, or flowing pencil strokes depending on what the water is doing (gentle ripples vs. crashing waves).
2. Color Palettes for Different Types of Water 🎨
Not all water is created equal! Depending on the mood of your page, you’ll want to tweak your palette. Here are four fail-proof combinations:
A. The Crystal-Clear Tropical Ocean 🏖️
For vibrant sea life, beach scenes, or sunny lagoons.
- Colors: Aquamarine, Bright Cyan, Pale Mint, Soft Turquoise, Warm White.
- Vibe: Refreshing, tropical, bright, and cheerful.
B. The Deep & Mysterious Forest Lake 🌲
For cozy woodland streams, enchanted waterfalls, or misty ponds.
- Colors: Deep Navy Blue, Forest Green/Olive, Slate Grey, Soft Lavender, Pale Cyan.
- Vibe: Moody, tranquil, earthy, and magical.
C. The Sunset-Kissed Waters 🌅
For evening horizons, reflecting skies, and warm summer nights.
- Colors: Coral Pink, Soft Gold, Violet/Magenta, Warm Amber, Sky Blue.
- Vibe: Romantic, dreamy, and warm.
D. Cozy Raindrops & Puddles ☔
For rainy days, cute umbrellas, and reflection-filled streets.
- Colors: Cool Grey, Steel Blue, Pale Periwinkle, Charcoal (for shadows).
- Vibe: Calming, nostalgic, and snug.
3. Step-by-Step: How to Color 3 Popular Water Scenes 🌊
Scene 1: Calm Lakes & Quiet Ponds 🍃
Goal: Create a smooth, glass-like reflection.
- Start Lighter Than You Think: Begin with a soft base layer of pale blue or mint using very light pressure.
- Add Horizontal Ripples: Using a slightly darker shade (like medium teal or turquoise), draw light, flat, horizontal lines across the water. Keep them spaced out—closer together near the top/horizon, and further apart as they move closer to the front.
- Reflect the Surroundings: If there are trees or mountains along the edge, add subtle vertical strokes of green or grey in the water right below them.
- Blend Gently: Use a white pencil, a blender marker, or a tissue to smooth the transitions together.
Scene 2: Ocean Waves & Foamy Water 🌊
Goal: Capture movement and energetic sparkle.
- Keep the Foam White: Before applying any color, map out where the white foam/crest of the wave will be. Leave those areas completely blank!
- Layer from Light to Dark: Apply light cyan at the top of the wave where the sun hits through the water. Darken the base and bottom of the wave with navy or deep indigo to show weight and depth.
- Add “Water Lines”: Draw fine, curving lines following the shape of the wave using your darkest blue to create texture and movement.
- The Magic Highlight: Use a white gel pen, acrylic paint pen, or white gouache to add tiny dots and splashes along the crest of the wave.
Scene 3: Dewdrops & Rain 💧
Goal: Make drops pop off the page with 3D dimension.
- Base Color: Color the object behind the raindrop first (e.g., a green leaf).
- Shadow Side: Shade the bottom edge of the raindrop inside with a dark green or dark grey line.
- Light Reflection: Leave a tiny white arc/crescent shape at the top of the drop where light hits it.
- Drop Shadow: Add a subtle, faint shadow outside the drop on the leaf directly underneath it.
Want to practice these techniques? 🌊
Put these water palettes and reflection techniques to work with detailed cave and underground lake coloring pages.
Explore the Underground Caves Coloring Pages on Etsy →
4. Pro-Tips for Next-Level Sparkle ✨
🌟 The White Gel Pen Trick: If you only take one piece of advice from this article, let it be this! A high-opacity white gel pen (or white acrylic paint pen) is a colorist’s secret weapon. Adding tiny white stars, dots, or rim lines over your colored water instantly creates a magical, sparkling sunlight effect.
🌟 Vary Your Pressure: Water looks best when transitions are smooth. Practice fading your pencil strokes from dark to light by easing the pressure of your hand.
🌟 Don’t Forget Unexpected Colors: Adding a touch of lavender, pink, or yellow into your blue blending creates complex, realistic reflections that make your artwork look professional!
If your water is reflecting lanterns, glowing windows, or evening light, our How to Color Warm Light & Cozy Glow guide can help you build more convincing warm reflections.
Water is less about finding the “right blue” and more about understanding reflections, value and surrounding color. The Art of Atmospheric Coloring includes a dedicated section on water and reflective surfaces, with visual examples and practice pages to help you build depth without making the scene feel overly complicated. [Learn more inside the guide →]
What’s Your Favorite Scene to Color? 💬
Ready to Try These Water Coloring Techniques?
Whether you’re coloring quiet forest lakes, dramatic ocean waves, or tiny sparkling raindrops, remember that water is all about light, reflections, and contrast.
Pick one technique from this guide and test it on your next coloring page — you don’t need to master everything at once. And if you’ve tried one of these techniques, we’d love to see the result. Tag us on social media and show us your favorite watery scene. 🌊✨
Love experimenting with seasonal colors too? Discover our cozy autumn coloring palette guide.
Leave a Reply